Tuesday, 8 April 2014

Cow Remake Progress_1

While making the base cow, I thought I would do a small progress update. I still have a little bit more to do; editing the head; adding the udders and tail, but I think it is coming along nicely. I have attempted to make it feel like it has been hand crafted to which I think has begun to work well.


1

This is a slightly older image of visualizing the head bobbing.


2


3


4

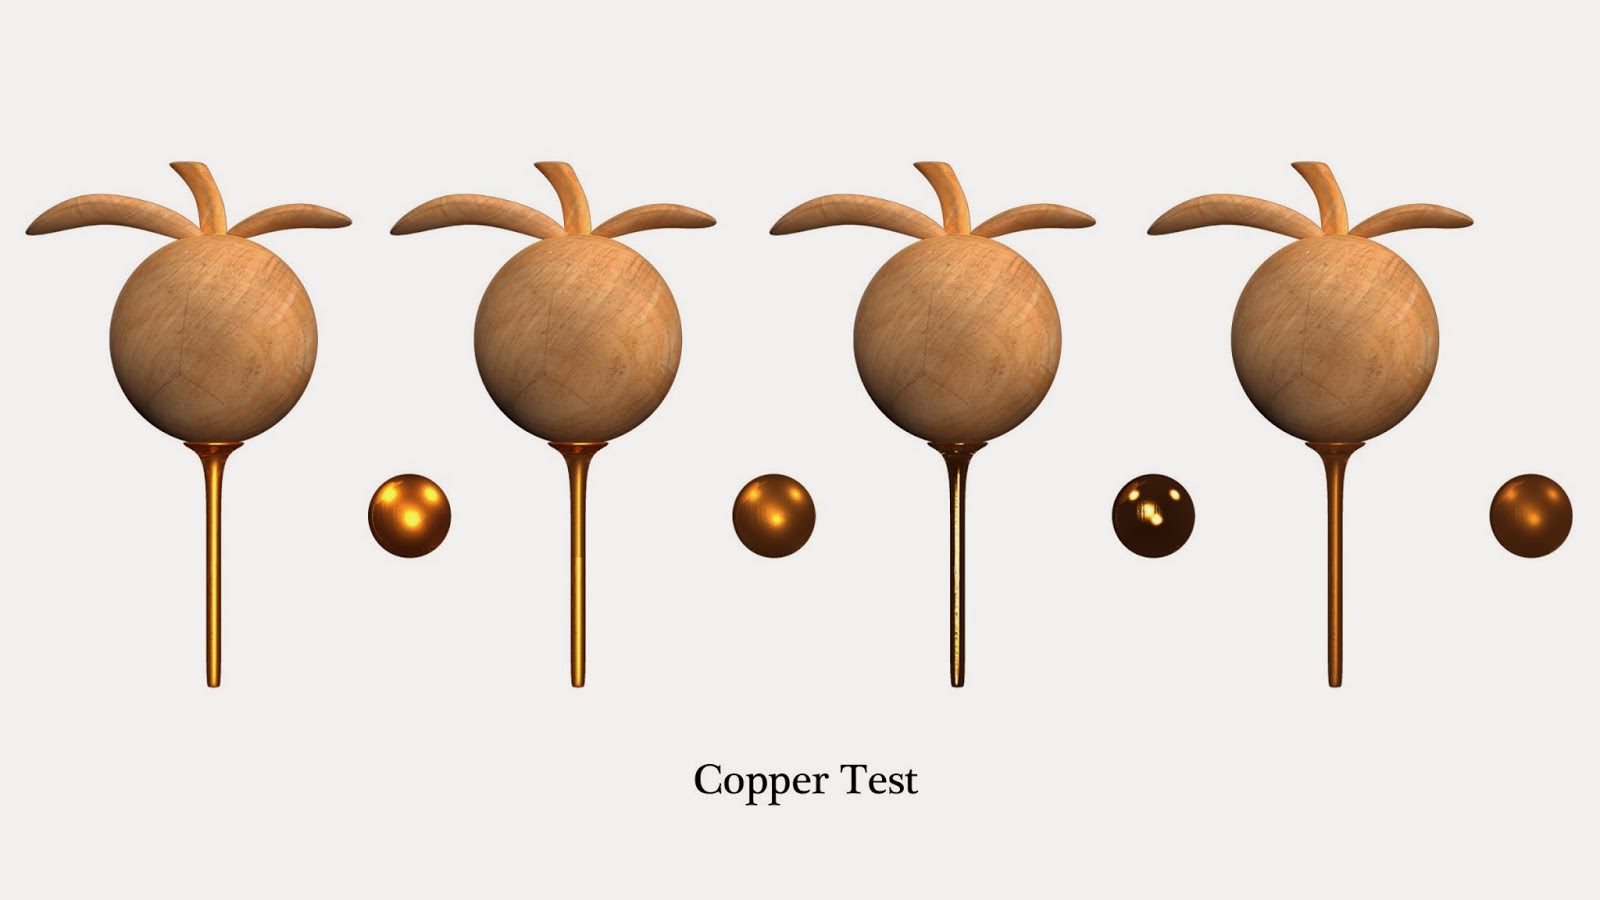
In this set of images (2-4) I was finessing the body's shape. I am trying to keep it flat with a bevels to make it feel carved. I still have the udders to do but I am pretty happy with the bodies shape, and to me it does feel man made and carved. With the head, I am going to keep it square but add some features like the horns and ears. I am going to try and (like you would carving) taking away from the model to add some more shape.


Monday, 7 April 2014

The Wooden Texture Adventure_2

On my search for wooden textures, I ended up raiding my home for all things wood. Here is a sample sheet of the wooden texture photos I have taken.


Sunday, 6 April 2014

Crop Remodel

Moving down the list, I have modeled a bass for the crops. I will need to edit the model adding some slight differences to each side to add variation but I think it is a good base.


Base Model

Apple Edit


Re-visiting the apple, I have attempted to edit and remodel the leaf so to add more detail and to somewhat curve the leaf around the apple. I have made two models of leaf, one more flat, the other more curved. I am not sure which works better but I must say I very much like the leaf it self.


Leaf 1


Leaf 2


Comparison

Friday, 4 April 2014

Bee Editing

Moving onto the Bee, I experimented by editing the shape of the Pre_Viz bee to make it a little less pointy. I came up with two very similar designs but with slightly different shaped ends and carved marks.


1

Bee comparison


2

Bee one has more straight carved lines and a little trailed end. I liked this shape but ended up finding it a little menacing rather than cute.


3

Bee two has more of a arching carved lineup with the end more pointing down, similar to the Pre_Viz Bee. I like this shape as it has a somewhat cute charm.


4

Comparison of the Pre_Viz Bee and Bee two.


The 'Grrr' Flower Update

Going on a -'ggrrrr'- comment from Phil about my lovely petals, I have edited them to make it a 5 leaf flower. I have also made the petals all the same model and size. I do like it with five as it feels more natural than the 4.


The Peg Man Family

Moving down the list of model editing, the peg man family has now been remade. There are a few small tweaks to be done but that is mainly in there position to one another and there size.


1

Line Up


2

Family Unit

Thursday, 3 April 2014

Flower Remake

With the model remaking I have now moved onto the base flower. I have tried to add some more details into the petals by adding so indentations and shape. On a hole I think it looks good with these details to which will be expanded in both texture and bump maps. The only thing I will think about changing later will be the bottom two leafs. I may add some chips or something along those lines to get a more carved theme.


1

Smoothed view


2

Turnaround view


The Wooden Texture Adventure_1

On our little adventure to create a wooden texture archive, we made our way to Homebase. Here are some samples of the wood that they had. I also took some photos of non wooden objects for texture and possible bump maps.


1


2


Tuesday, 1 April 2014

Copper Test

For the stands/connections and gears, I am looking at having a copper or brass material. Here I have attempted to create a sort of copper texture and explored placing a bump map onto it to add imperfections. I quite like the bump map and its resulting imperfections but I am unsure on the texture it self due to how it sits with the wooden apple. It may be that the stand is a little to thick but something feels a little off. I will be looking into more of a brass texture to compare.


Edited Base Apple

I have begun to edit/UV my models so they are ready and usable to replace the place holders. Although most of the sets objects do not need much of an edit, they all need a touch up.


Simple editing of shape and size with a shaped bottom stand.


While doing a base texture for the apple to work out ways to UV I also experimented with bump maps. I am a little unsure here about how much bump I should have on my object as I do not want to go over board. I like the more subtle two on the left ( the two next too the arrow) as I feel if it goes over or under, it will be to much or to little.


The base texture with a slight bump map. The colour of the wood is not fixed and may be edited later.
In each set of objects, for example the set of apples, I will possibly make 3-5 slightly imperfect and differing objects. 


UV Map


UV Map Bump


Editing Into - 2

I have tweaked the intro in order to try and work out what works best. I have moved a few things around and place the handle under the screw to try and imply the connection rather than having it to the side. I think this works better although I am unsure on the base of the screw and handle. However, keeping in mind this is more of a cheat and meant to be more suggestive than real, I think it works well.


Monday, 31 March 2014

Editing Intro - 1


So the last piece to the puzzle is the intro of the animation where the lone screw begins its chain reaction to bring the machine to life. 

I tried to bring in a handle to which would start to move after the screw screwed in place. I think in this edit it maybe a little to busy and Im not sure on the handle placement. I think it may need to be more connected to the screw by maybe having it underneath rather than to the side. However, I do like the delay before the cog begins to turn ( the one behind the screw) rather than the instant turn with the handle.